Dealing with plumbing leaks in your house can be a frustrating experience, but the good news is that not all leaks require professional intervention. Some minor leaks can be easily fixed with a few basic tools and some know-how. In this blog post, we will guide you through the step-by-step process of fixing simple plumbing leaks in your house, helping you save time and money by tackling these issues yourself.
Safety First
- Before attempting any plumbing repairs, always prioritize safety. Turn off the water supply to the affected fixture or area to avoid further leakage or water damage.
- Use caution when handling tools and materials, and consider wearing protective gear, such as gloves and eye protection.
- Gather essential tools and materials
To fix simple plumbing leaks, you'll need some basic tools and materials:
- Adjustable wrench
- Channellock Pliers
- Pipe tape (Teflon tape)
- Plumbing putty or sealant
- Replacement washers or gaskets (if needed)
Before diving into the repair, identify the type of leak you're dealing with. Common types of leaks include:
- Dripping faucets
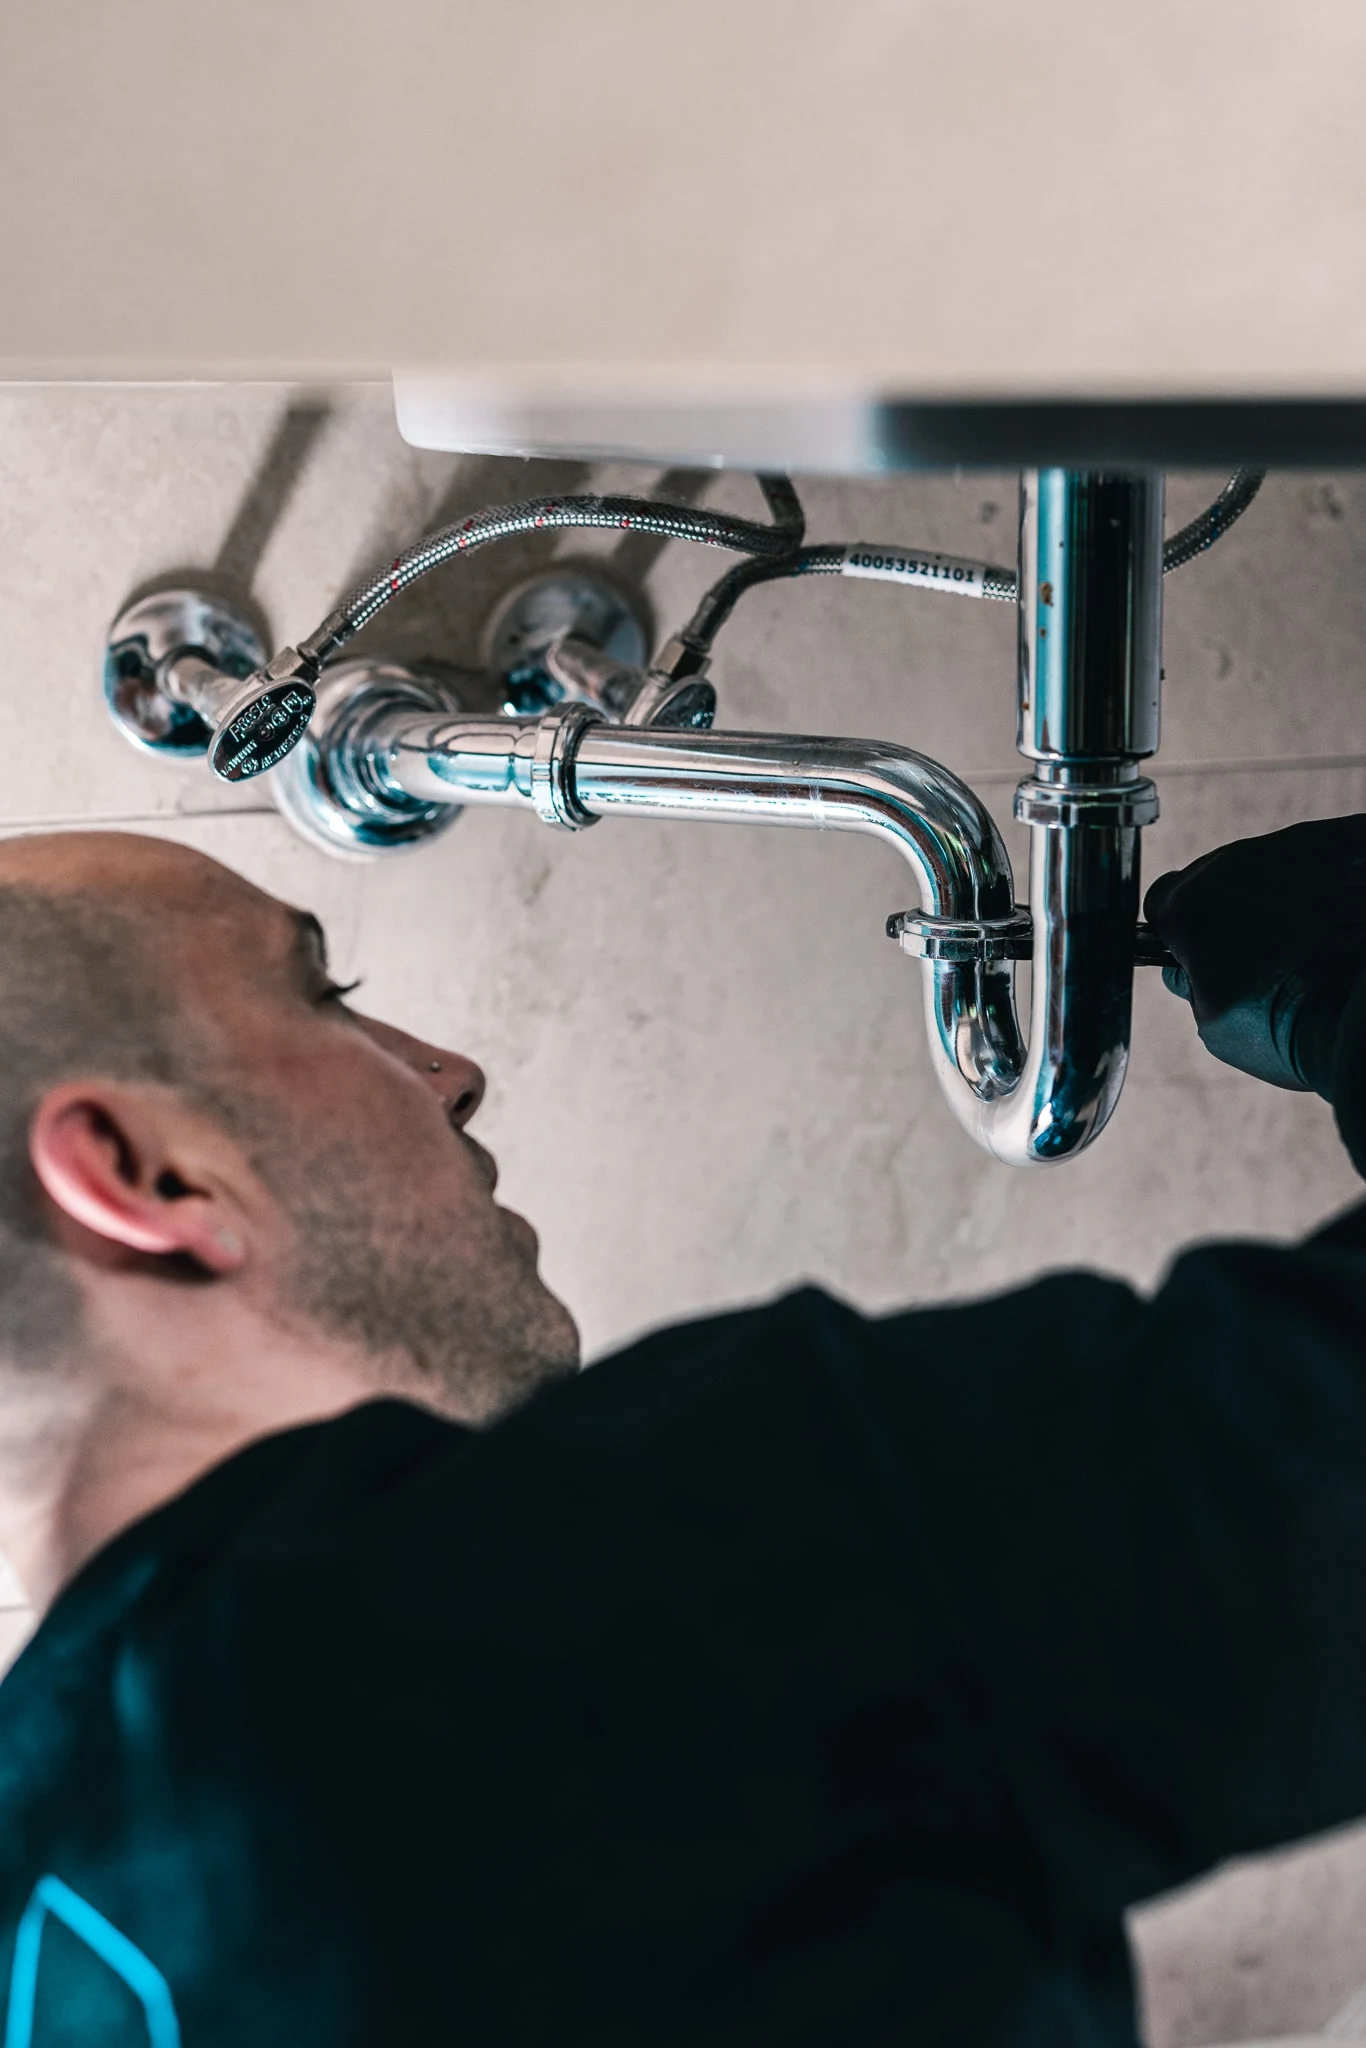
- Leaky pipe joints
- Toilet leaks
- Shower leaks
- Shower cartridges behind finished wall
- Cracked ABS fittings caused by heat from hot water
- Bathtub spout leaks
Dripping faucets are often caused by worn-out washers or cartridges . To fix them identify what type of brand cartridge is required.
- Turn off the water supply to the faucet or house.
- Remove the faucet handle using a screwdriver or an Allen wrench.
- Replace the worn-out washer or cartridge with a new one of the same size.
- Reassemble the faucet handle and turn on the water supply to check for leaks.
Leaky pipe joints are usually a result of loose connections or poor installation pratise To fix them:
- Turn off the water supply to the affected area.
- Use an adjustable wrench or pipe wrench to tighten the connections.
- If the leak persists, disassemble the joint, clean the surfaces, and replace with all new proper materials required.
Toilet leaks can waste a significant amount of water and increase your water bill. To fix them:
- Remove the toilet tank lid and check for any visible cracks or damage.
- If the flapper valve is worn or doesn't seal properly, replace it with a new one.
- Check the fill valve for any leaks or malfunctions and replace it if necessary.
- Inspect base of the toilet for stains around the base of the bowl. Also inspect to determine if the toilet has a wobble.
Leaky showers are often caused by a faulty washer or worn out cartridge . To fix them:
- Remove shower trim to identify the cause of the leak.
- Turn off the water supply to the shower or house to prevent any chance of a flood.
- Remove the shower cartridge and clean the valve body with light sand cloth or fitting brush.
- Replace the washer or cartridge
- Reassemble and turn on the water supply to check for leaks.
Leaky bathtub spouts are usually caused by worn-out O-rings or damaged diverter valves. To fix them:
- Turn off the water supply to the bathtub.
- Remove the spout's cover plate using a screwdriver.
- Sand copper pipe with sand cloth and clean thoroughly Replace the O-ring or diverter valve as needed.
- Silicone wall opening before you Reassemble the spout and turn on the water supply to check for leaks.
Teflon tape, also known as pipe tape, is a handy tool for preventing leaks in threaded connections
- Apply Teflon tape to the threads of pipe fittings before screwing them together.
- The tape helps create a watertight seal, preventing leaks at the joints.
Checking for Leaks After Repairs
- After completing the repairs, it's essential to thoroughly check for leaks to ensure the fixes were successful.
- Turn on the water supply and observe each repaired fixture carefully for any signs of leakage.
Knowing When to Seek Professional Help
- While fixing simple plumbing leaks can be a DIY project, some leaks may require professional intervention.
- If you encounter complex plumbing issues, such as major pipe bursts, sewer line leaks, or multiple leaks in different areas, it's best to call a professional plumber to avoid causing further damage.
Regular Maintenance to Prevent Leaks
- Conduct regular inspections of your plumbing system to catch minor leaks and issues before they escalate.
- Performing routine maintenance can extend the lifespan of your plumbing and prevent costly repairs in the future.
Conclusion
Fixing simple plumbing leaks in your house can be a rewarding and cost-effective DIY project. By identifying the type of leak and following the step-by-step repair process, you can address common issues such as dripping faucets, leaky pipe joints, and toilet tank leaks. Remember to prioritize safety and use the right tools and materials for each repair. While DIY repairs are suitable for minor leaks, always seek professional help for complex plumbing issues to ensure a safe and efficient plumbing system in your home. By staying proactive and conducting regular maintenance, you can prevent leaks and extend the lifespan of your plumbing, saving you time, money, and potential water damage headaches.